Notice: Function _load_textdomain_just_in_time was called incorrectly. Translation loading for the web-stories domain was triggered too early. This is usually an indicator for some code in the plugin or theme running too early. Translations should be loaded at the init action or later. Please see Debugging in WordPress for more information. (This message was added in version 6.7.0.) in /home/smorpygb/willvaughan.design/wp-includes/functions.php on line 6131
Notice: Function _load_textdomain_just_in_time was called incorrectly. Translation loading for the wordpress-seo domain was triggered too early. This is usually an indicator for some code in the plugin or theme running too early. Translations should be loaded at the init action or later. Please see Debugging in WordPress for more information. (This message was added in version 6.7.0.) in /home/smorpygb/willvaughan.design/wp-includes/functions.php on line 6131 WFH Archives - Will Vaughan | UX and Product Design
Google's Drive for Desktop has been my secondary backup strategy for a while now. It's a great complement to OSX's built-in Time Machine backup and helps to ensure that my backups are not tied to a single location.
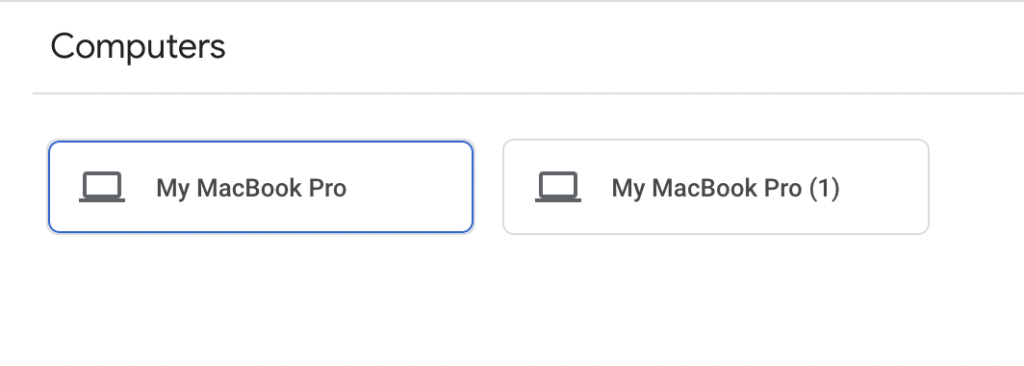
Usually when I move to a new computer I use Apple's Migration Assistant to move everything from my Time Machine backup to the new machine. With my latest computer, however, I wanted to start with a fresh install to avoid migrating all of the built-up hidden files I've accumulated over the past 15 years or so. I thought using Drive to restore would be a great solution, but turns out it's not actually supported. When I signed in with the new computer I ended up with a second computer backup. There was no option to start by restoring an existing backup.
Two separate backup paths rather than one.
A 30 minute chat with Google customer support confirmed there's no supported path to migrate to a new computer, but I was able to find a workaround. I couldn't find this when Googling so I figured I'd write it up here in case it would help anyone else.
Migration steps
Use an existing backup (Computer A) to migrate to a new computer (Computer B).
Make sure Computer A is completely backed up and your files are visible at drive.google.com.
Log in to Google Drive on Computer B but don't add any local folders for syncing
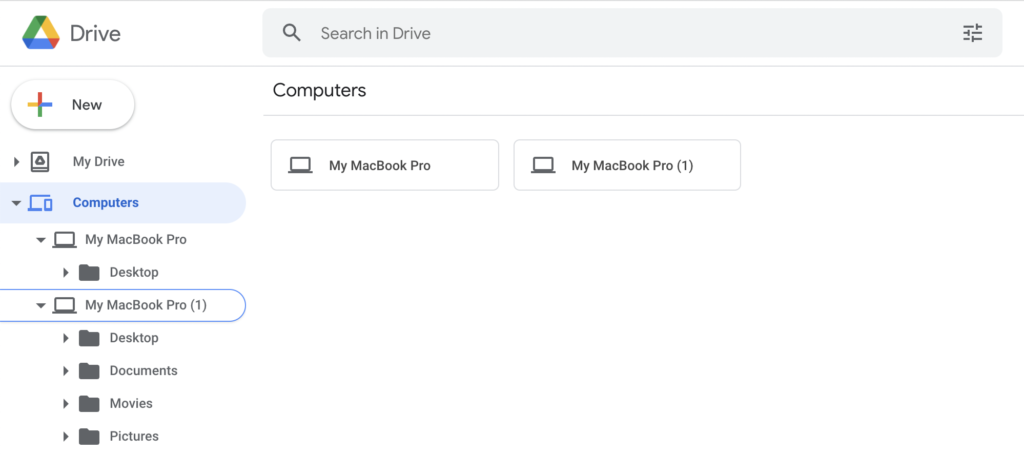
Drag folders at drive.google.com from Computer A to Computer B
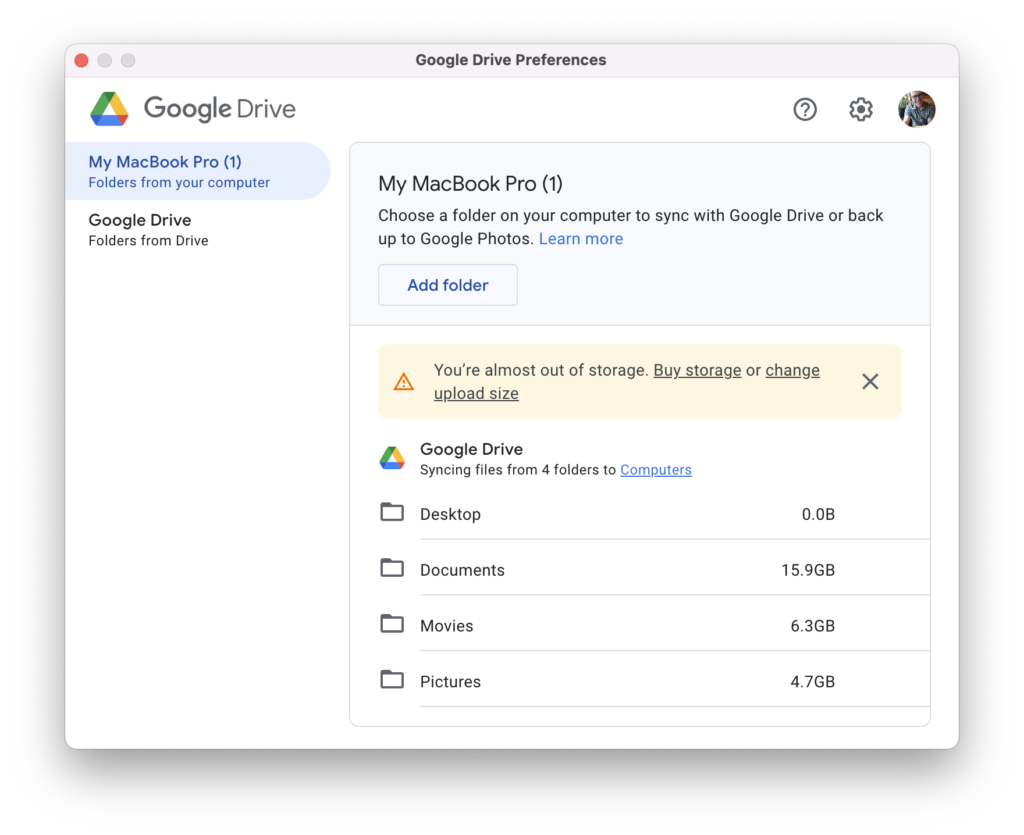
Choose the same folders to sync on Google Drive for Desktop
Google Drive will warn you that these folders exist already and will ask you to confirm whether you want to merge them.
Complete this step for each folder you want to sync. Make sure that your local folder on Computer B matches the name of the backup folder from Computer A.
Now you should be all set. Google Drive will merge your files from Computer A to Computer B and Computer B.
If you found this article useful, I'll always appreciate a PSL 🎃
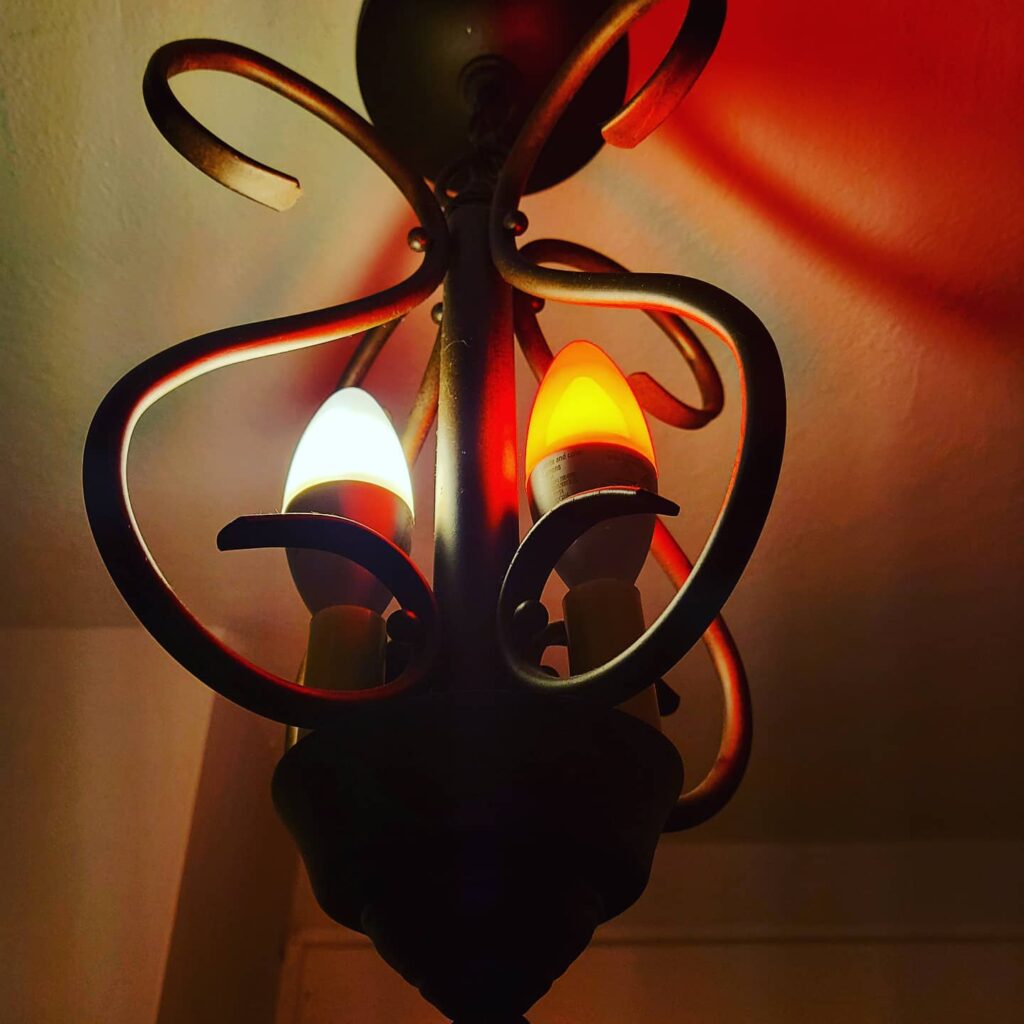
The final product - an "on air" light when I'm in a meeting.
When my wife and I started working from home in March 2020 we settled into a routine where she’d work downstairs and I’d be in the bedroom upstairs. Since I'm on the bedroom our cat Angie is usually sitting on the bed right behind me - in full view of my webcam. This is great for paying the cat tax during meetings, but not so great when my wife wants to come give Angie some pets and I happen to be on a video call. After a few accidental meeting interruptions I knew there had to be a way to make it easier for her to know when the coast was clear for a cat visit - something like the "on-air" lights used in recording studios.
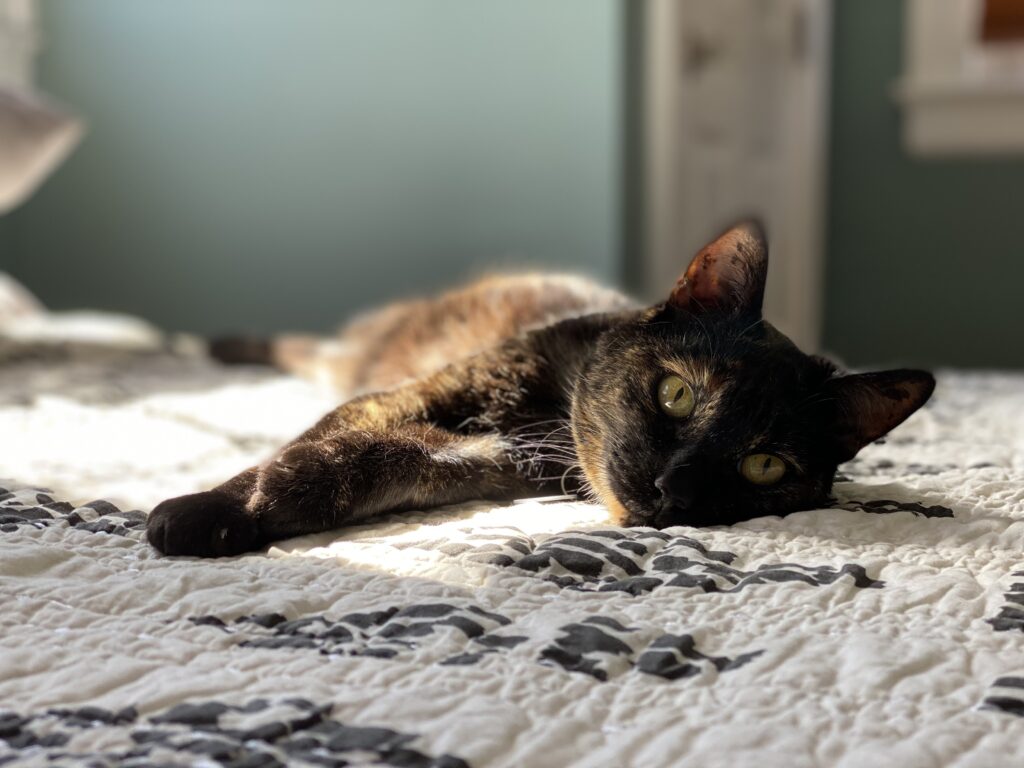
Our senior cat Angie enjoying some sunlight on the bed.
We already had a few Hue light bulbs in the house, so my first idea was to just turn a light on whenever I went into a meeting. I could do this pretty easily from my phone or Google Assistant, but I usually forgot to change the light which defeated the purpose.
Luckily I’d been exploring some DIY home automation tools and had bought a Raspberry Pi to try out Home Assistant, an open source home automation solution that can be run locally on your own WiFi (I wrote a bit about Home Assistant in Debugging the smart home) . It can run on a bunch of different hardware, but I wanted to keep things simple so I bought a Raspberry Pi starter kit from CanaKit and followed Home Assistant’s instructions to get things set up. With Home Assistant you don't even need to already have Hue lights. You can use any light the 100+ lights Home Assistant supports or even just smart outlet with a light plugged into it.
The first 3 steps involve setting up the Raspberry Pi and Home Assistant. I followed along with the online documentation for each step and will link it below. If you've already got it configured, skip to Step 4 to build out the automation.
Setting up Home Assistant
1. Set up Home Assistant on the Raspberry Pi
I followed the excellent guide on Home Assistant’s website with no issues. I chose to do the Home Assistant Operating System installation as recommended on their website.
2. Add the Hue integration in Home Assistant
Again Home Assistant’s excellent documentation makes this super simple. There’s even a single click button to add the integration from the site: https://www.home-assistant.io/integrations/hue/
3. Install the macOS (or Windows) Home Assistant Companion App
Creating the actual automation is the only part not covered by Home Assistant’s documentation so I’ll walk through it in detail. We're going to create a scene that tells Home Assistant which lights to turn on, what color to make them, and how bright to set them. We'll then create an automation that tells Home Assistant to trigger that scene when the computer camera turns on and an automation to turn off the lights when your camera turns off.
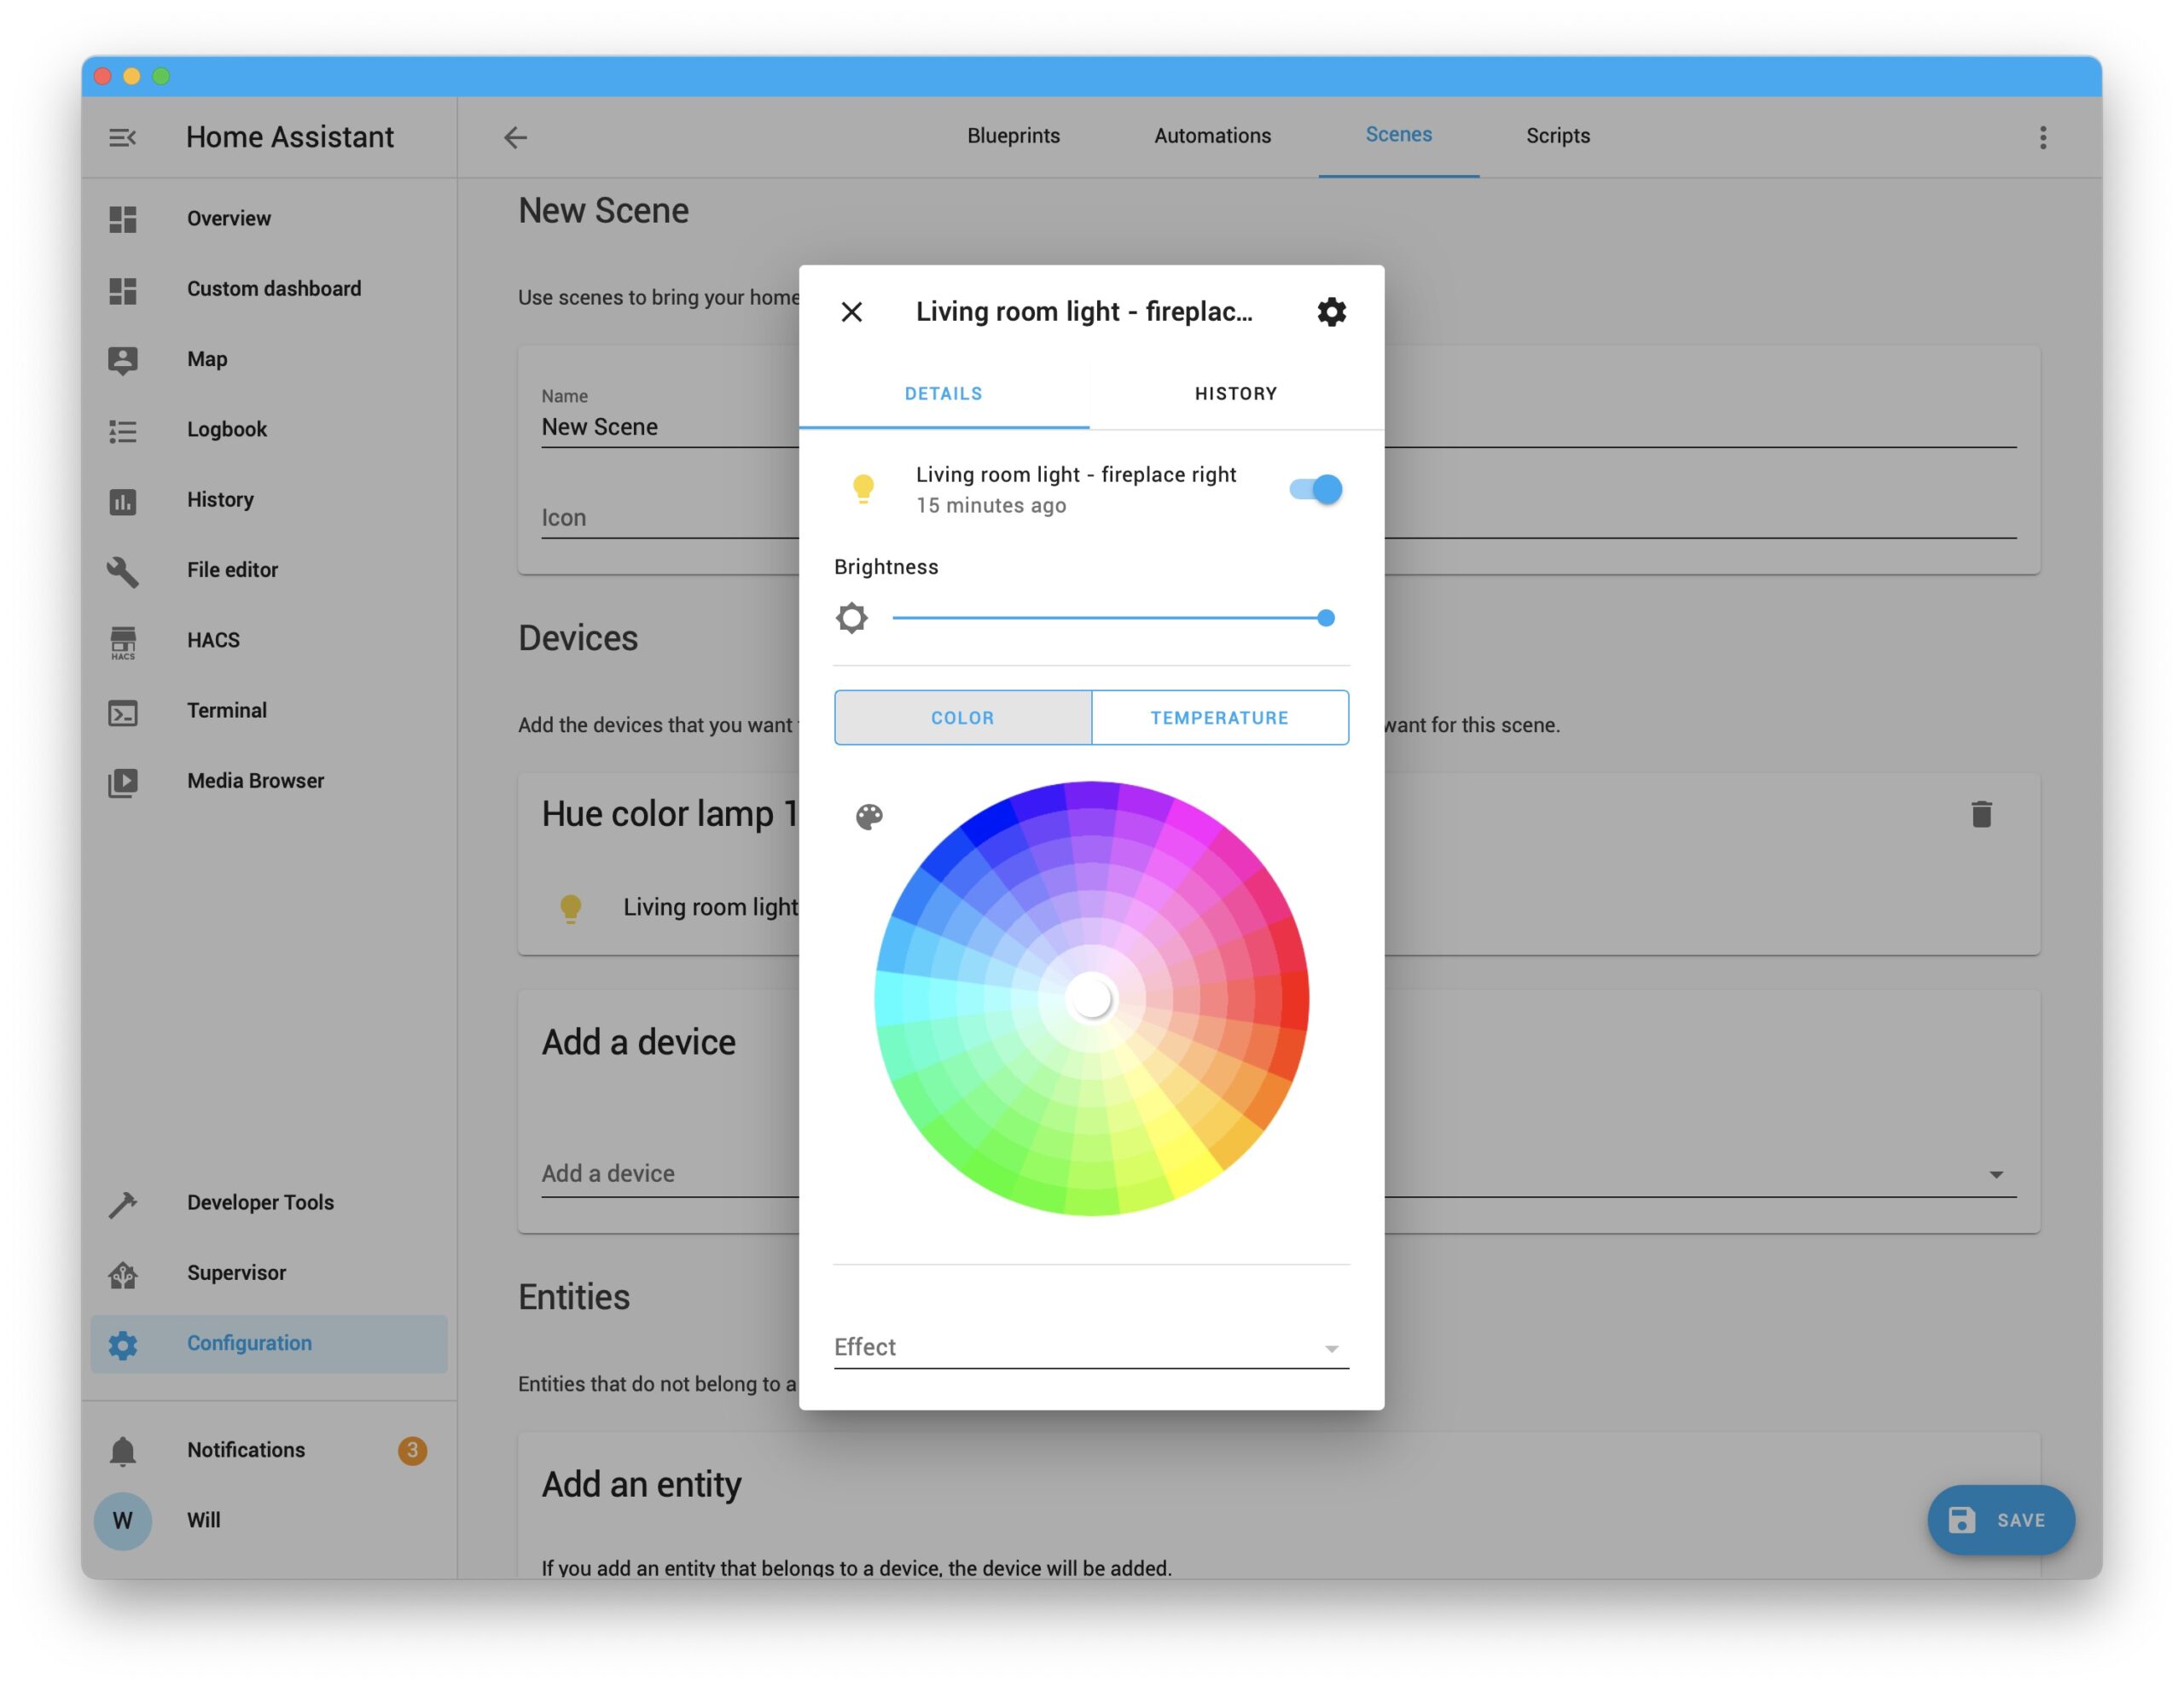
1. Create a scene for your lights
Navigate to Configuration > Scenes > Add Scene in Home Assistant.
Name your scene and choose your light(s) from the devices list
Click the lightbulb to choose your brightness and color/temperature
Save your scene
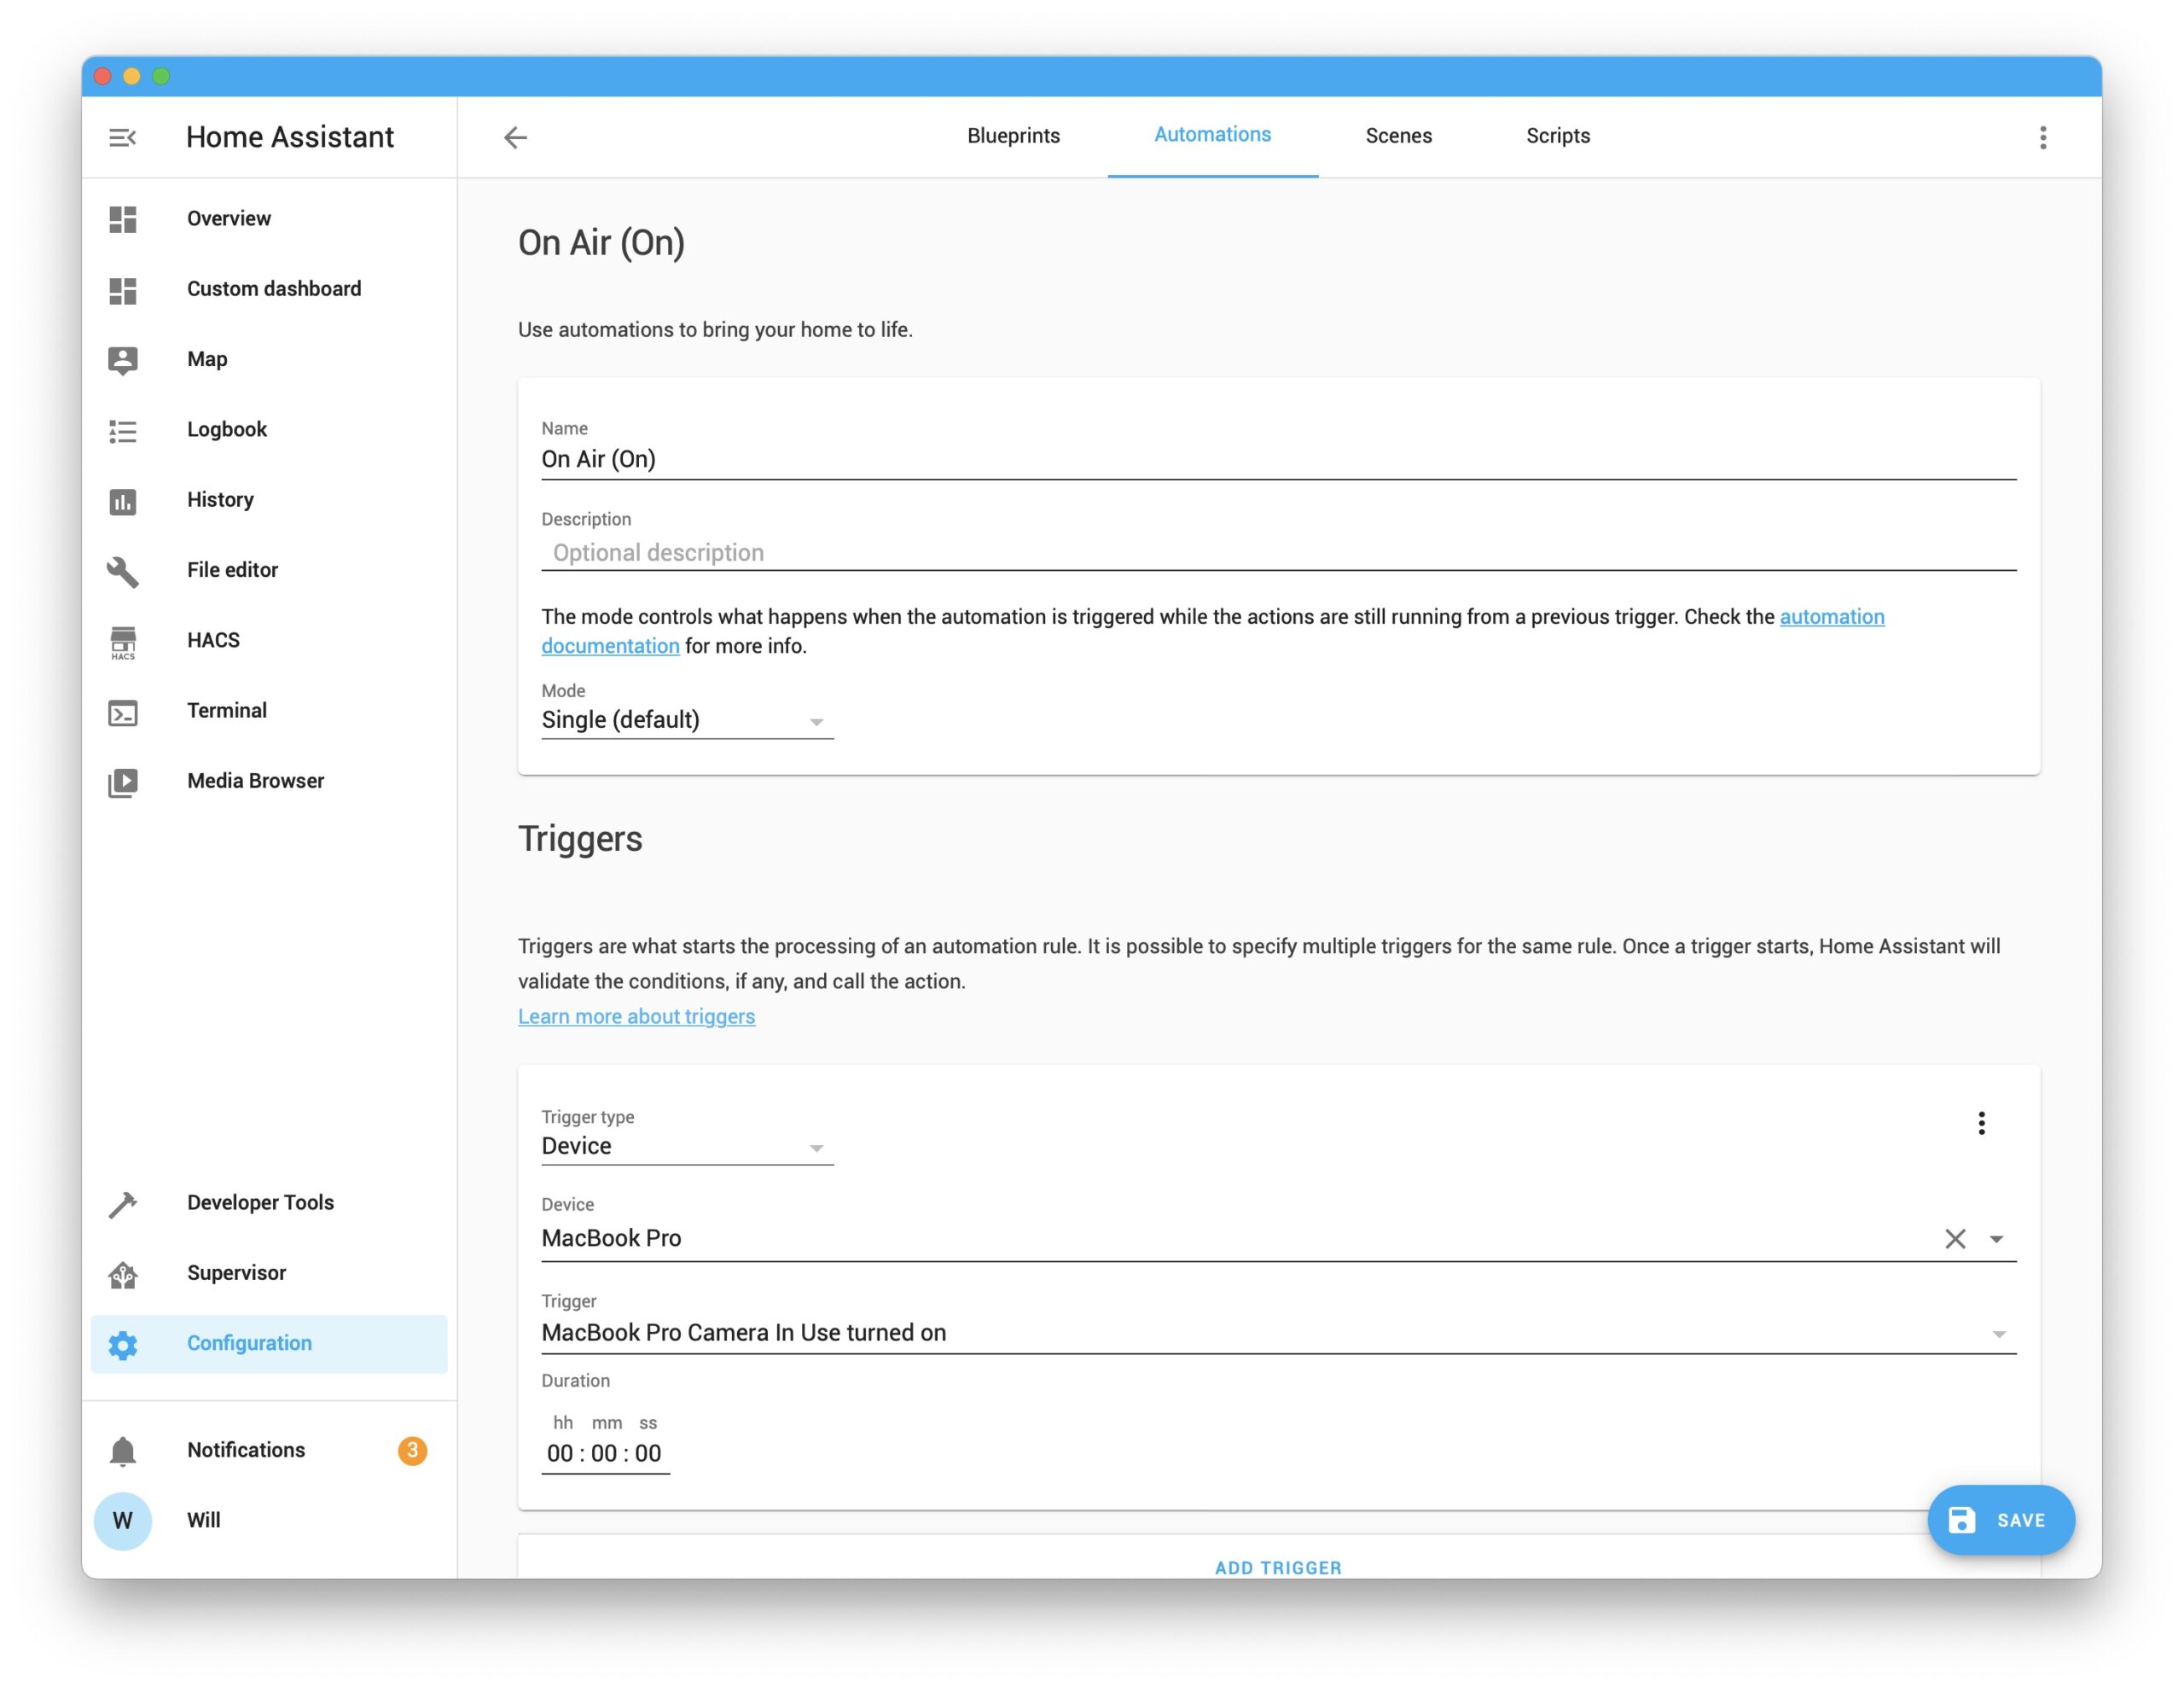
2. Create your "on air" automation
Navigate to Configuration > Automations > Add Automation > Start with an empty automation
Name your automation and add a description. Leave the Mode at its default value of Single
Choose Device for Trigger Type
Select the computer you’ve installed the Companion App on
Choose “[computer-name] Camera In Use Turned On”. [computer-name] will be whatever your computer’s name is as registered with Home Assistant.
Skip conditions and leave as is
Choose Activate scene for your Action type and select the scene we made in step 4
Save your automation
4. Create your "off air" automation
Navigate to Configuration > Automations > Add Automation > Start with an empty automation
Name your automation and add a description. Leave the Mode at its default value of Single
Choose Device for Trigger Type
Select the computer you’ve installed the Companion App on
Choose “[computer-name] Camera In Use Turned Off”. [computer-name] will be whatever your computer’s name is as registered with Home Assistant.
Choose Device for your Action type and select your light
Choose Turn Off for the action.
Save your automation.
Now you’re good to go! If you set this up, run into issues, or have an interesting automation I’d love to hear about it on Twitter.